What’s the use of a house that was custom-built for you, but you can’t get inside because no one gave you the keys? The same is true for die casting because it is more than just pressing liquid metal into a mould under high pressure. This process includes several stages, from design to actual use. That’s why it’s crucial to know what will happen after your part is cast and what options you have as a customer. Today, we’re looking into several finishing options.
Drilling and tapping
These are two different processes. Drilling is creating a smooth hole in a part with a drill and motor. Tapping is creating a thread into the side of the hole so that a cap screw or bolt can be threaded into the hole.
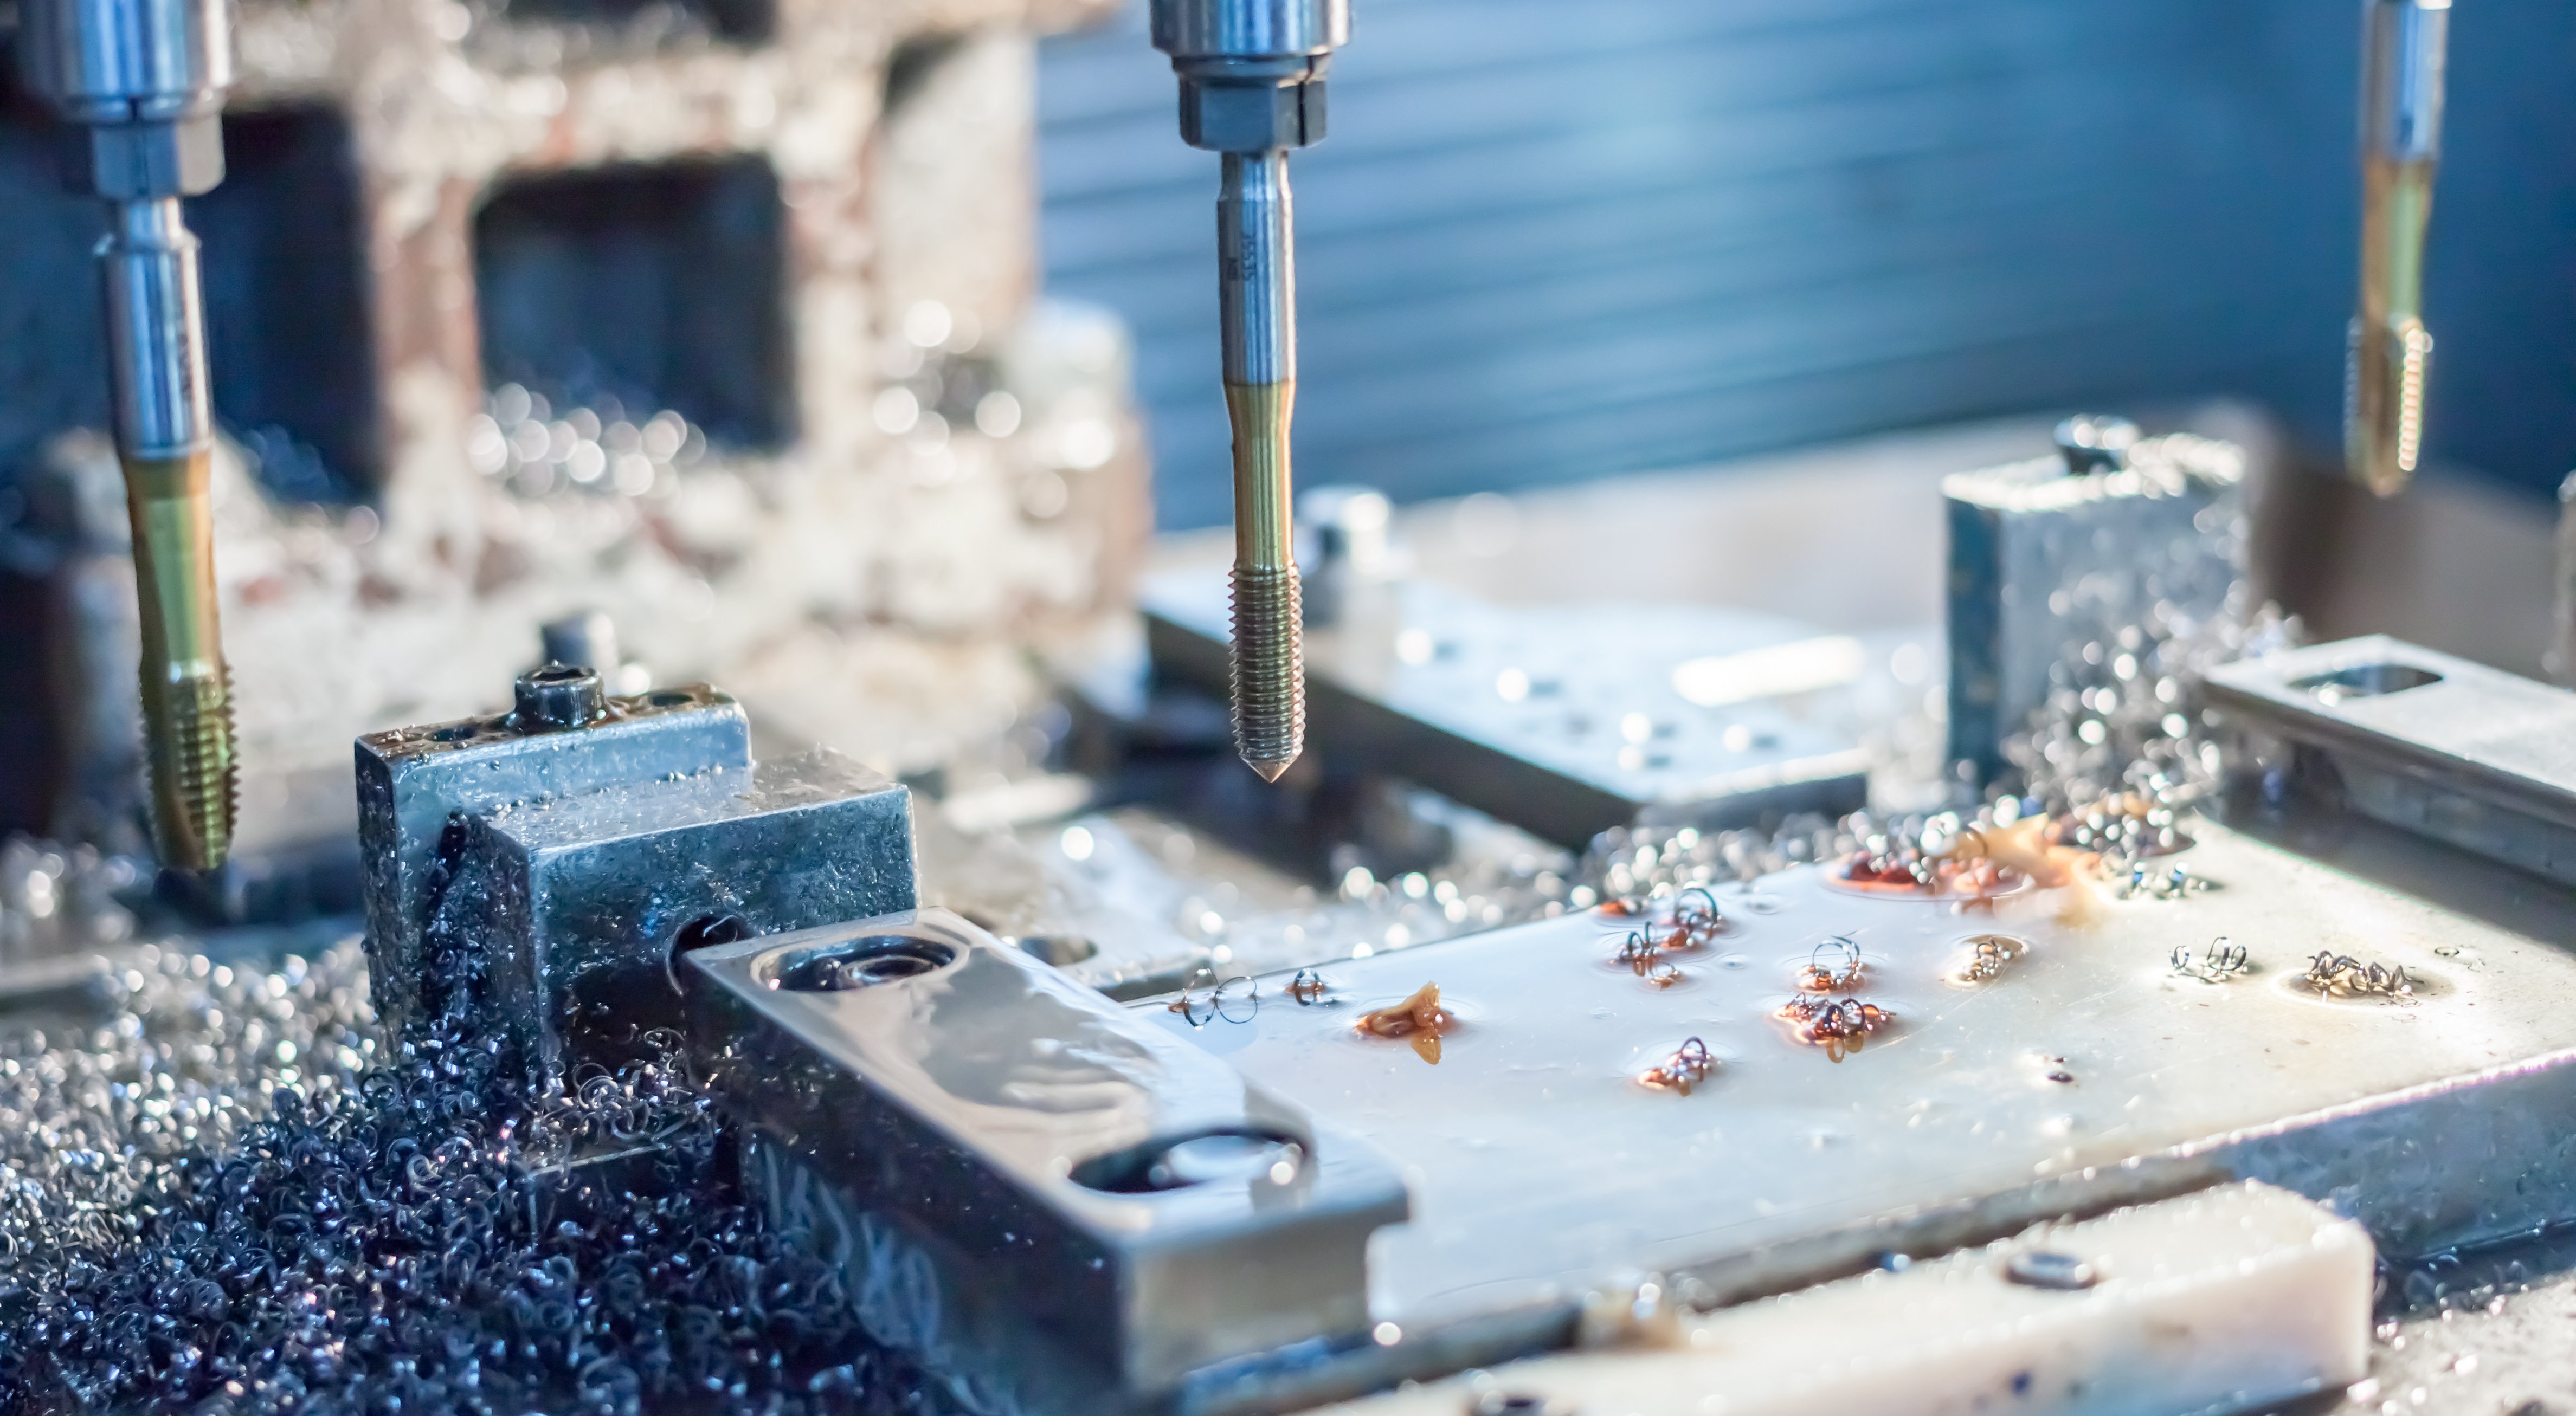
Numerous taps are available to match almost any screw type. To select the right drill bit, you’ll need to know thread count and pitch, thread pitch, and whether the threads are coarse or fine.
Some Best Practices:
- To create a usable, straight tap, you need to use tap guides. The taps are automatically centered and straight when you’re tapping on a machine (like Mill or Lathe). When it comes to manual work, the human eye can’t ensure perfect 90-degree taps, that’s why using tap guides is recommended. wording changed
- To prevent overheating, assist the cutting action, and clean out the chips created by bits, use oil.
- To ensure that bits won’t break or overheat, keep pecking in mind.
For 3D parts, threading is not necessary. Moreover, in most 3D CAD applications, it’s really time-consuming. If you want to add threads to specific holes on a part, make sure the hole size matches the pilot drill size, make notes regarding which holes are tapped and what are the thread type and pitch, and add notes in case a custom thread depth is required.
Trimming and Deburring
When a part is ejected from a die-cast machine, the gates and overflows must be trimmed manually or with a trim die – a single or multiple cavity tool made in the same shape as the die casting die. A trim die can be used when the gates are difficult to remove manually or located near the center of the part, and removing them manually can break the part.
Designing trim dies requires as much attention to detail as the die casting tools, and the use of high-quality materials should be specified to prolong their productive life.
Burrs on ejector marks or wherever they appear need to be deburred. After trimming overflows and gates, there may be some materials on the edges that need to be polished away.
Powder Coating and Painting
Over the last several years, there’s been a debate around the benefits of powder coating and painting. But before comparing these two options, let’s define them. Powder coating is applied electrostatically as a free-flowing, dry powder, cured under heat, while traditional liquid paint needs a solvent to keep the filler and binder parts in liquid form.
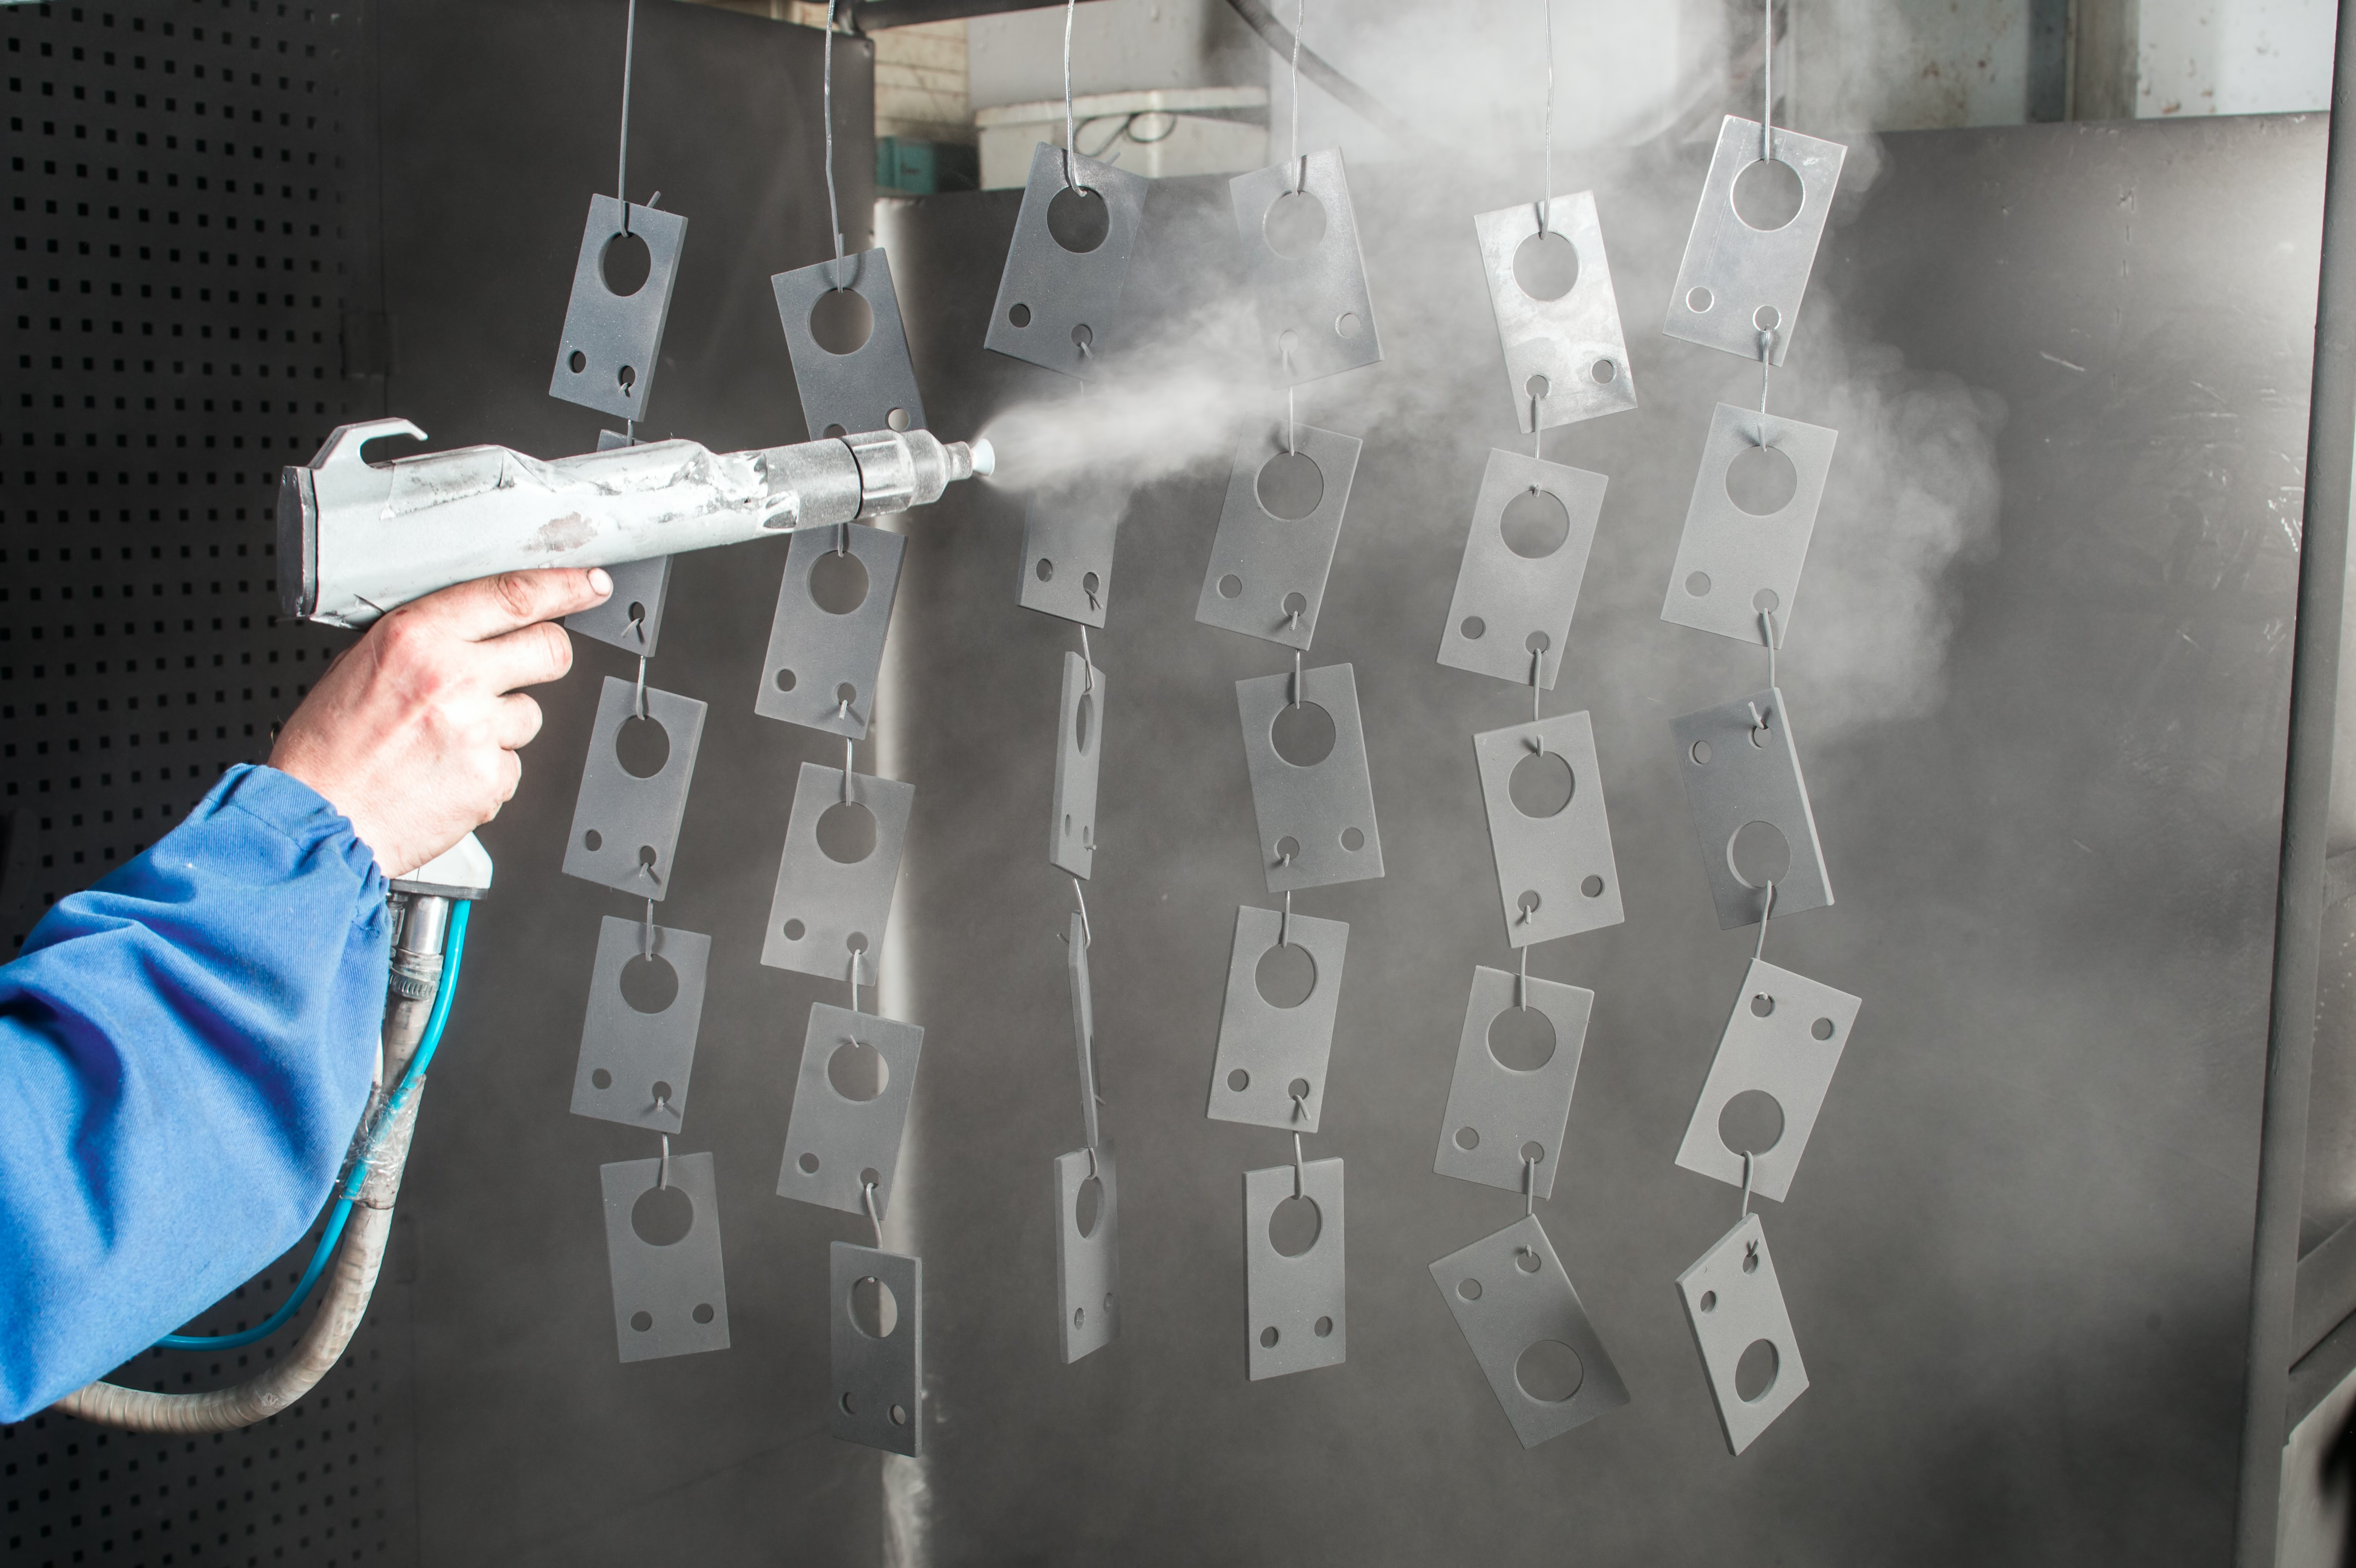
For our team, the main advantages of powder coating include five characteristics:
- Safe. Powder coating production produces less hazardous waste in comparison with conventional liquid coating production lines.
- Durable. Powder coatings create a thicker adhesive coat without drips like traditional paint coating does.
- Consistent. While a liquid coating can create appearance differences between horizontally coated and vertically coated parts, parts that are given a powder coating have few differences in appearance even if they were coated differently.
- Environmentally friendly. It’s possible to recycle powder coating overspray. In other words, you can use the entire coating without wasting the powder. Moreover, powder coatings emit almost zero volatile organic compounds (VOCs).
- Cost efficient. Although the base material cost makes painting look more cost-effective at first glance, when you consider long-term effects like waste, durability, and maintenance, powder coating is the winner.
Chemical Finishing Solutions
Chromate conversion is the most popular choice for castings because it’s a reliable surface protectant. In simple terms, it’s a chem film, often referred to as Alodine, Iridite, or Yellow Iridite. Such chemical conversion coating protects the aluminum from corrosion by chemically transforming the metal surface into a protective layer. It also serves as a base for painting or powder coating, a paint adhesion enhancer on aluminum alloys and die casting, and a protector against electrical conductivity loss. More than that, chromate conversion coatings also have a fantastic self-healing property if a part gets scratched. The scratched area slowly gets covered by soluble chromate from areas adjoining the scratch.
We can apply the coating by dipping, spraying, or brushing, and it won’t change the dimensions of the part.
Anodizing is also another very common chemical process used on die castings. This electrochemical process converts the metal surface into a durable, corrosion-resistant, anodic oxide finish. However, unlike with machined aluminum parts, anodizing is not a cosmetic finish for castings. It has a porous structure that allows for secondary processes such as coloring and sealing, so it’s mainly used for the protective properties, like corrosion and scratch resistance.
Depending on your project requirements, you’ll need to consider all finishing options to have the expected result delivered. Simalex is proud to offer you all the finishing services listed above and even more so that you can benefit from our turnkey solutions. Contact us today to learn what is best for your die casting project!